![Hexatronic_Group_avatar_RGB.png]](https://knowledge.hexatronic.com/hs-fs/hubfs/Hexatronic_Group_avatar_RGB.png?width=40&height=40&name=Hexatronic_Group_avatar_RGB.png)
Extend the simple network from Creating a very simple network in the InOne Design Tool into a redundant ring. You give each HAN its own name and power, close the ring back to the HDN, and tidy up the drawing.
Before you begin: open the design with HDN-A and the three HANs from the first article, or import its configuration file.
Set the name and power of each HAN
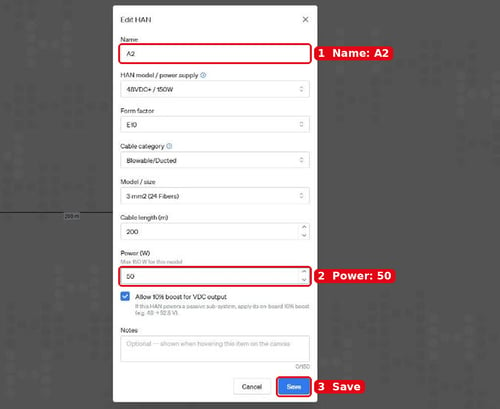
- Double-click a HAN to open Edit HAN.
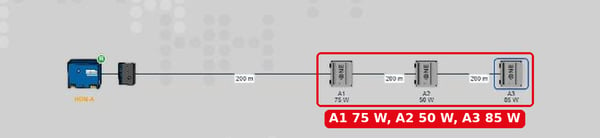
- Change the Name and the Power (W), then click Save. In this example, the second HAN becomes A2 with 50 W and the third becomes A3 with 85 W.
- The new names and power values show under each HAN.
Arrange the nodes as a ring
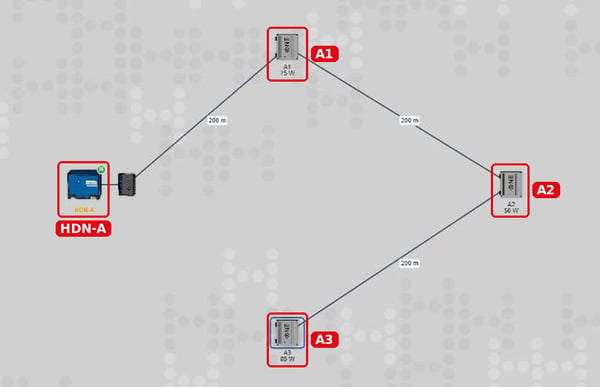
Click and drag the HDN and the HANs so they form a circle. Leave a gap between the last HAN and the HDN for the ring cable. Moving nodes does not change the cable lengths.
Close the ring
- Right-click the last HAN (A3) and click Close ring.
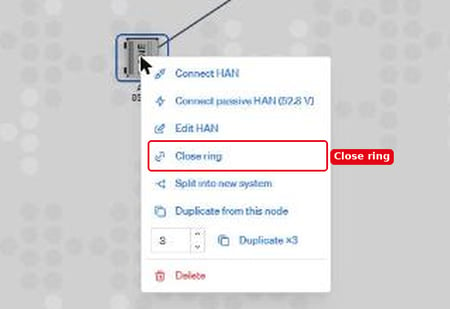
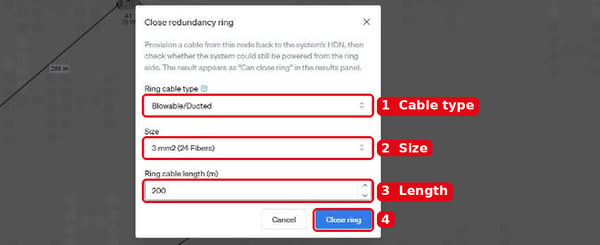
- In Close redundancy ring, select the Ring cable type and Size, and enter the Ring cable length (m). This example uses Blowable/Ducted, 3 mm2 (24 Fibers) and 200 m.
- Click Close ring.
Check the ring
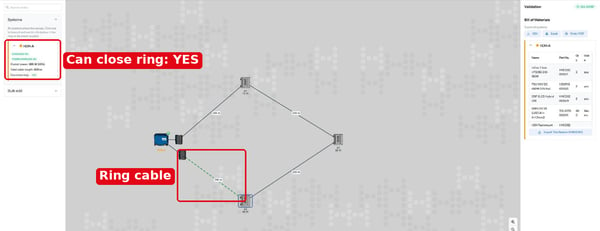
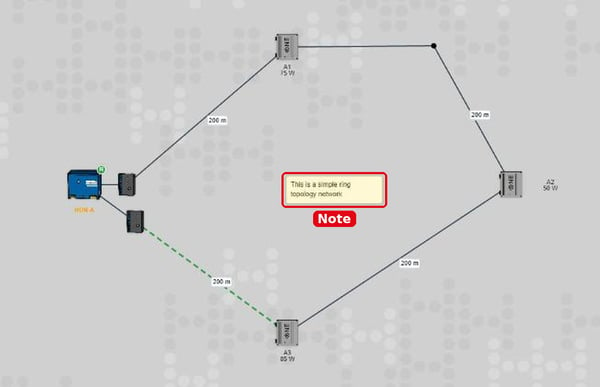
- The ring cable is drawn as a green dashed line from the last HAN back to the HDN.
- The system card shows Can close ring: YES. This means the system can still be powered from the ring side.
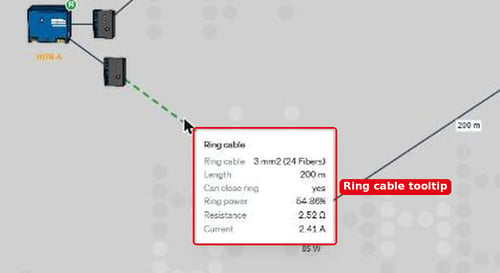
- Hover over the ring cable to see its size, length, ring power, resistance and current.
Tidy up the drawing
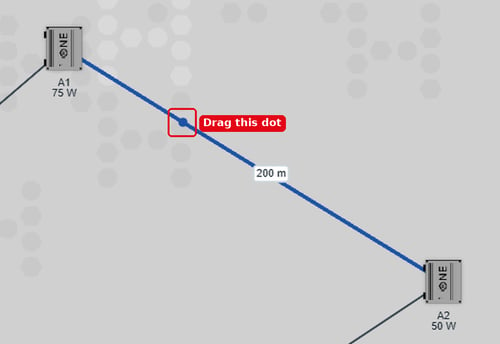
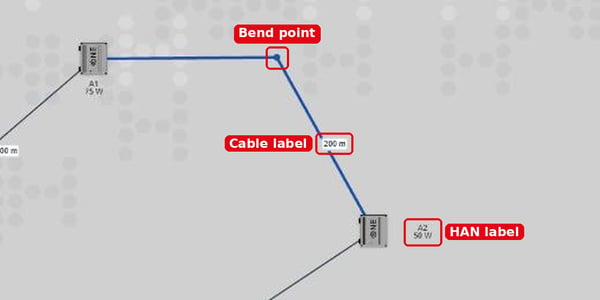
- Shape a cable route: right-click the middle of a cable. A dot appears. Drag the dot to bend the cable. The cable length stays the same.
- Move labels: drag a cable length label along its cable, or drag a HAN label to another side of the HAN.
Add a note
- Right-click an empty area of the canvas and click Add Note.
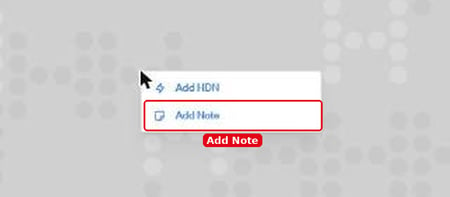
- Type the note, for example This is a simple ring topology network, and click Add note.
- Drag the note to where you want it, for example the middle of the ring.
Please note: your design is stored only in your browser. Export the configuration and design file, and keep a screenshot of the design with it.